
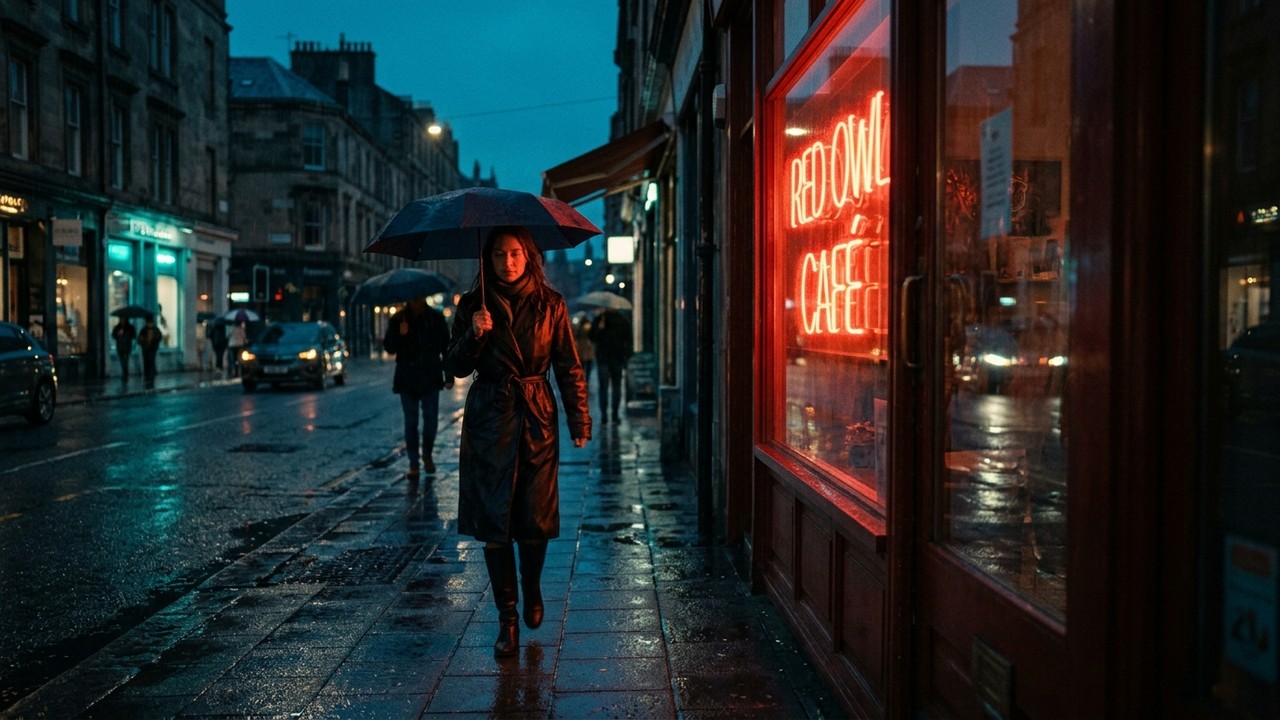

The Digital 'Sterility' Problem
Modern digital CMOS sensors are engineering triumphs. They capture 15+ stops of dynamic range, produce zero color contamination, and resolve microscopic detail with mathematical precision. And that is precisely why raw digital video often looks sterile and lifeless.
Human perception didn't evolve around discrete mathematical pixel matrices. When a digital pixel clips at 100% white, it abruptly stops registering information. Film, on the other hand, responds chemically, non-linearly, and with gentle logarithmic compression.
Photochemical motion picture film does the exact opposite. Because film is composed of millions of microscopic silver halide crystals suspended in gelatin layers, its response to light is purely chemical, non-linear, and gently compressive.
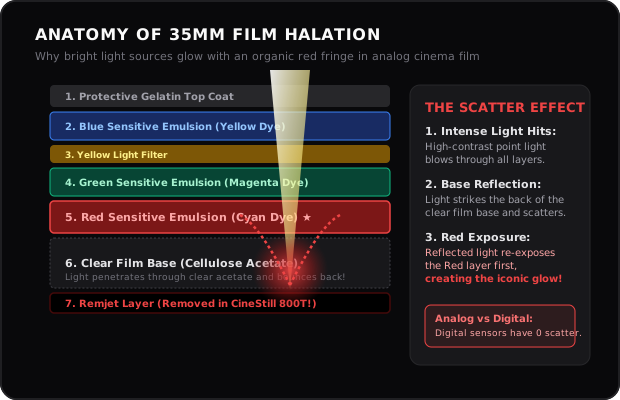
Figure 2: Physical anatomy of motion picture film stock. Specular highlight rays punch through the top Blue and Green emulsion layers, striking the acetate base. Unabsorbed Red wavelengths bounce back off the Rem-Jet backing, causing organic halation.
The Physics of Halation (It's Not Just a Red Glow)
Halation occurs when intense light penetrates all three chemical emulsion layers (blue, green, red) and strikes the film's anti-halation rem-jet backing layer. Red wavelengths scatter sideways and reflect back into the red-sensitive emulsion, creating a distinct reddish-orange glow around specular highlights.
- Emulsion Layer Sequence: Kodak color negative film is constructed with three distinct chemical layers: Blue-sensitive on top, Green-sensitive in the middle, and Red-sensitive at the very bottom, right against the acetate base.
- Red Wave Scatter: Blue and green light have short wavelengths and get completely absorbed by the upper layers. But powerful red photons penetrate all the way through the base.
- Rem-Jet Backing: In motion picture film stocks (like Kodak Vision3), a carbon-black backing layer called Rem-Jet is applied to prevent light bouncing back into the camera gate. However, extremely bright specular sources (street lamps, neon signs, sun glints on skin) overcome this layer, scattering back into the red emulsion.
That is why genuine halation only lives in high-contrast transition edges where highlights meet shadows. It never covers the entire frame.
Digital sensors use additive RGB mixing: as light increases, all channels hit 255 (white clipping). Film uses subtractive CMY dye couplers: denser light creates deeper color purity, producing rich saturated golds and deep blues in sunlight rather than washed-out white clipping.
2. Film Grain vs Digital Sensor Noise
Why does digital noise look like dirty confetti while 35mm film grain feels warm and cinematic?
Digital Sensor Noise
Formed by thermal electronic interference in a static pixel grid. Manifests as sharp, colorful chroma noise (green and magenta specks) that aggregates primarily in dark, underexposed shadows.
Organic Film Grain
Formed by physically clumping dye clouds during chemical development. Grain has varying particle sizes, mostly resides in mid-tones (skin tones), and softens harsh digital sharpness without losing perceptual depth.
How to Build a Photochemical Node Tree in DaVinci Resolve
To grade authentic film looks without third-party $300 plugins, structure your node tree in this exact physical order:
Convert your camera source (Sony S-Log3, Apple Log, or Canon C-Log) to Cineon Film Log curve. This mimics raw film negative scans before print emulation.
Use RGB Curves to pull yellow into the highlights and cyan into the shadows. Warm midtones keep skin vibrant while cool shadow tones create physical depth.
Apply a calibrated 33x or 65x Film Print LUT (.CUBE) to introduce the signature organic S-curve toe (crushed rich blacks) and soft shoulder highlight rolloff.
Generate a luminance key isolate of specular highlights (IRE 95+), blur horizontally with red bias, and blend via Screen or Soft Light mode at 15% opacity.
Explore 50+ Fujifilm & Kodak Recipes
Skip manual node trees. Get dialed-in in-camera JPEG simulation recipes and 3D LUT film profiles based on Classic Chrome, Portra 400, and CineStill 800T.