
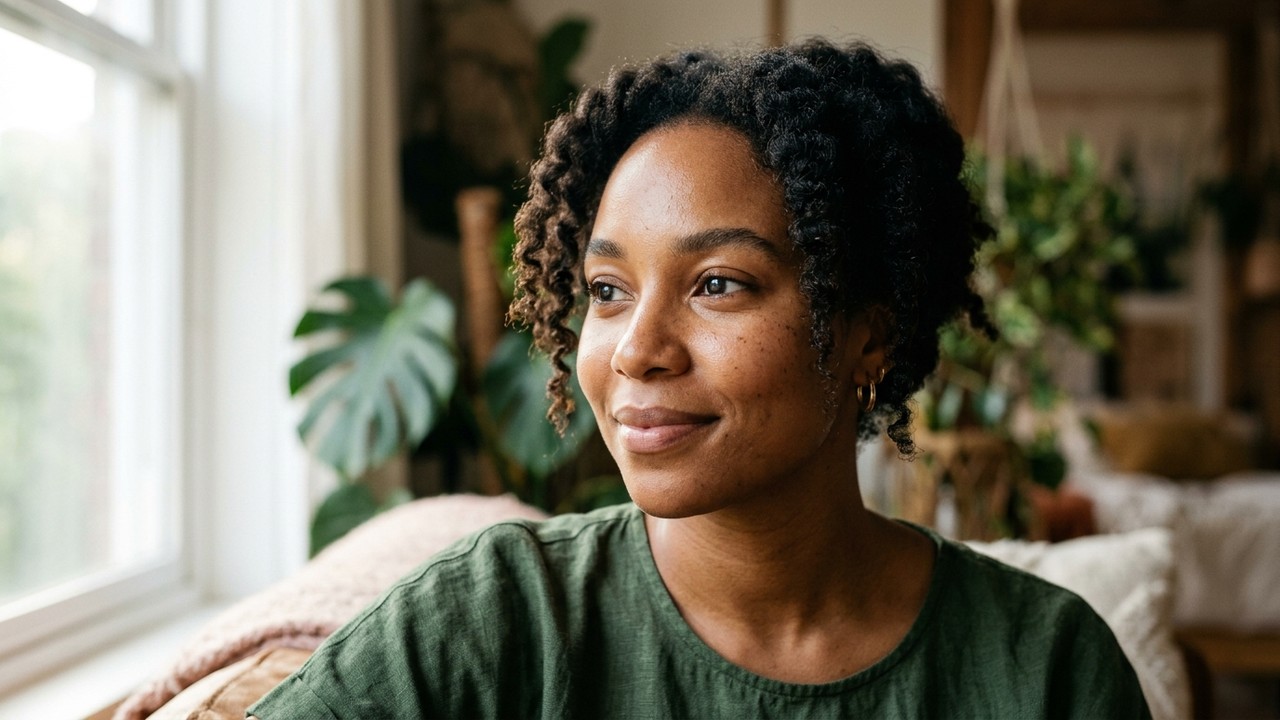
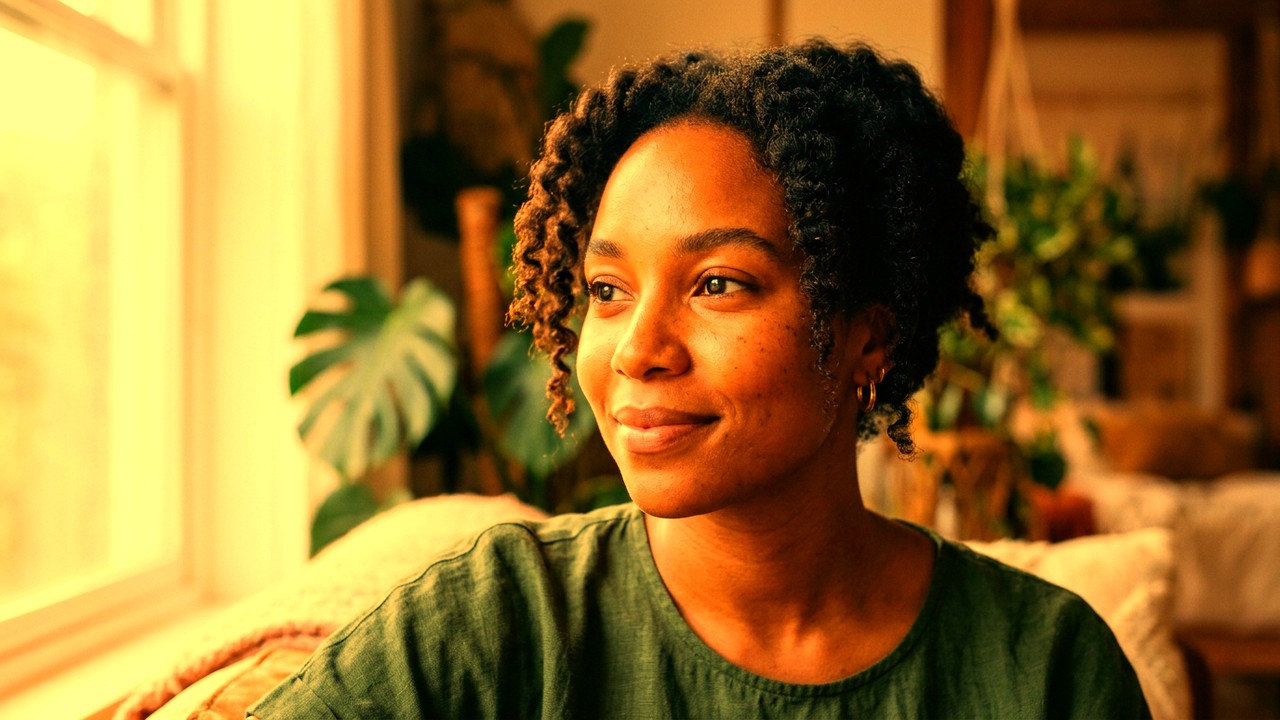
The Biology of Human Skin on a Vectorscope
Every human being on Earth—regardless of ethnic background, nationality, or skin tone darkness—shares the exact same optical pigment signature: oxygenated hemoglobin and melanin.
When you view a portrait on a color grading vectorscope, human skin always plots along a razor-thin line pointing toward 10:30 on the clock face, sitting directly between the Red and Yellow targets. Skin tone depth is determined by luminance, not hue angle.
- Fair Skin: Sits higher up on waveform (IRE 60-70%), slightly lower saturation.
- Olive & Tan Skin: Sits mid-waveform (IRE 45-55%), moderate warmth.
- Deep Dark Skin: Sits rich and deep on waveform (IRE 25-40%), rich tonal density.
When a LUT shifts your subject's skin toward 11:30 (pure yellow), they look sick or jaundiced. When a LUT pulls it toward 9:30 (pure magenta) or pushes saturation past 60%, they look like a burnt sunbather.
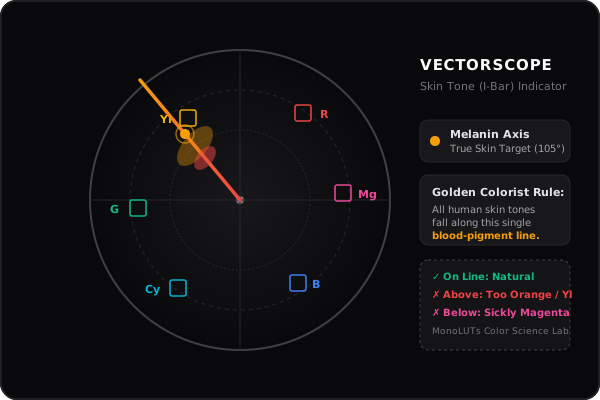
Figure 2: The universal melanin line sits at roughly 10:30 between Red and Yellow. The dotted arc shows typical creative LUT clipping, while the solid white scatter shows healthy, blood-flow preserved skin distribution.
Why 3D LUTs Cause 'The Oompa Loompa Effect'
A 3D LUT is a static mathematical matrix. It cannot differentiate a human cheek from a terracotta pot. When creative LUTs push warm tones toward orange to contrast against teal shadows, skin tones get over-compressed into an unnatural hue band.
When cinematic LUTs create "Teal & Orange" separation, they aggressively compress all warm colors (red, pink, orange, yellow) into a single hyper-saturated orange bucket. If your shot was even slightly warm to begin with (+200K color temperature), the LUT pushes skin tones outside legal gamut limits, turning subtle micro-contrast into a flat, plastic mask.
The 3-Step Professional Recovery Workflow
Follow the 'Sandwich Protocol': Node 1 (Pre-LUT Balance) -> Node 2 (Creative LUT at 65% opacity) -> Node 3 (Post-LUT Hue vs Saturation eyedropper offset to relax skin saturation by 10-15%).
- Node 1 (Pre-LUT Balance): Adjust Temperature/Tint and Offset wheels until raw skin falls cleanly on the vectorscope indicator line BEFORE hitting the LUT.
- Node 2 (Creative LUT): Apply your creative 3D LUT at 60-70% Key Output Gain (never 100%).
- Node 3 (Post-LUT Hue vs Sat): Open Curves → Hue vs Sat. Click the eyedropper on the skin. Pull the orange dot down 10-15% to strip radioactive saturation while keeping the rest of the scene vibrant.
- Step 1: Apply your LUT under Creative tab, but pull Intensity to 70%.
- Step 2: Scroll down to HSL Secondary. Use the eyedropper to select skin tones. Refine the Hue, Saturation, and Luminance range sliders.
- Step 3: In the HSL Correction wheels, nudge the master saturation slider down to -12, and push temperature slightly toward cool (+2) to dissolve the orange cast.
- Method A (Luminosity Mode): Change your Color Lookup adjustment layer blend mode from Normal to Luminosity. This applies the film contrast curve without shifting your calibrated colors.
- Method B (Selective Color Layer): Add a Selective Color adjustment layer above the LUT. Choose Reds and reduce Yellow by -8% and Magenta by -4% for silky natural flesh tones.
Senior Hollywood colorists rarely apply any creative 3D LUT at 100% opacity. A well-designed LUT is meant to provide direction and mood, not completely overwrite your sensor's color physics. Setting your creative LUT between 55% and 80% strength gives you rich filmic separation while naturally preserving soft dermal textures.
Test & Grade LUTs Live in Your Browser
Upload your photo directly into MonoLUTs 3D LUT Color Studio. Preview 30+ film profiles, adjust opacity sliders, and inspect skin tones before importing into your NLE.