

Apple Log to Rec.709 The Definitive Grading Guide
Transform flat, gray iPhone ProRes Log footage into vibrant, true-to-life cinema color. Download official calibrated .cube transforms and learn how to grade in CapCut Desktop, DaVinci Resolve, and Premiere Pro.
Apple Log to Rec.709 (33x)
Lightweight profile optimized for CapCut, Blackmagic Camera app, and on-set field monitors.
Apple Log to Rec.709 (65x)
Maximum 65-point precision table for DaVinci Resolve and Premiere Pro without color banding.
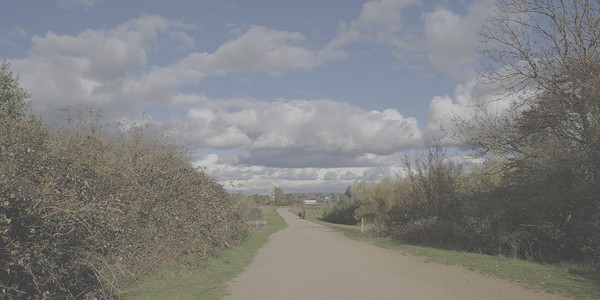
Flat ProRes Log vs. Calibrated Rec.709

How to Apply Apple Log in CapCut (Desktop & Mobile)
CapCut is the most popular video editor for mobile creators, but applying Log footage directly makes videos look muddy and grey. Here is the exact method to normalize Apple Log in CapCut:
- Download the 33x .CUBE file: Save apple-log-to-rec709-33x.cube to your computer or iPhone Files app.
- Import your clip into CapCut Desktop: Place your iPhone ProRes Log footage onto the timeline.
- Navigate to Adjustment > LUT: In the upper-right inspector panel, click Adjustment, scroll down to the LUT section, and check the box.
- Import the .CUBE: Click the folder icon next to LUT, select Add Local LUT, and choose the downloaded apple-log-to-rec709-33x.cube.
- Fine-tune Exposure: Keep the LUT Strength at 100%. In the Basic adjustment tab right above it, lift Shadows by +5 to +10 if your shot was slightly underexposed.
How to Grade Apple Log in DaVinci Resolve (CST vs. 3D LUT)
DaVinci Resolve offers two world-class ways to handle Apple Log: using our calibrated 65-point 3D LUT, or using the built-in Color Space Transform (CST) engine.
Node 3D LUT Workflow
- Create a serial node at the end of your node tree.
- Right-click the node > LUT > select apple-log-to-rec709-65x.cube.
- Make all exposure and white balance corrections on previous nodes before the LUT.
Color Space Transform (CST)
- Apply the Color Space Transform OFX effect to your output node.
- Set Input Color Space: Apple Log.
- Set Input Gamma: Apple Log.
- Set Output Color Space: Rec.709 & Output Gamma: Rec.709.
How to Apply Apple Log in Adobe Premiere Pro
- Open the Color Workspace to reveal the Lumetri Color panel on the right.
- Under the Basic Correction tab, find the Input LUT dropdown.
- Click Browse... and select apple-log-to-rec709-65x.cube.
-
Permanent Installation: Copy the .cube file to Adobe Technical LUTs directory.
Mac: /Library/Application Support/Adobe/Common/LUTs/Technical/
Win: C:\Program Files\Adobe\Common\LUTs\Technical\
Other Official Camera Transforms Available
Free calibrated technical LUTs for mirrorless cinema sensors and drones
Sony S-Log3 to Rec.709
FX3, FX30, FX6, A7 IV, A7S III
DJI Drones & OsmoDJI D-Log M to Rec.709
Osmo Pocket 3, Action 4/5, Air 3S
Fujifilm X & GFXFujifilm F-Log2 to Rec.709
X-T5, X-H2S, X100VI, GFX100 II
Panasonic LUMIXPanasonic V-Log to V-709
S5 II, S1H, GH6, GH7, VariCam
Canon Cinema EOSCanon C-Log 3 to BT.709
EOS R5, R6 Mk II, C70, C300 Mk III
Explore All Camera LUTs
Frequently Asked Questions
What is the difference between 33x and 65x grid sizes?
A 33-point grid (33×33×33 color samples) produces a file around 670 KB, making it very lightweight and fast to render on mobile GPUs (like CapCut on smartphones or Blackmagic Camera app). A 65-point grid (65×65×65) provides 274,625 color sample points for ultra-smooth gradients and zero banding, ideal for final desktop mastering.
How should I expose Apple Log while filming?
Apple Log benefits from slight ETTR (Expose To The Right). Overexposing by approximately +0.7 to +1.0 stop results in significantly cleaner shadow noise once the Rec.709 conversion LUT pulls the blacks down. Avoid severe underexposure, which can introduce chroma noise into dark backgrounds.
Can I test these LUTs in my browser before downloading?
Yes! MonoLUTs provides a free in-browser WebGL 3D LUT Color Studio. You can upload any sample frame or use our demo imagery to preview the conversion in real time with interactive split-screen.