
DJI OSMO POCKET & ACTION TECHNICAL WORKFLOW
DJI Osmo Pocket 3 & Action D-Log M to Rec.709 Master Guide
The complete field guide to shooting, exposing, and grading 10-bit D-Log M on the DJI Osmo Pocket 3, Action 4, and Mini 4 Pro. Download official conversion LUTs and create filmic colors in CapCut and DaVinci Resolve.
Official DJI
33³ Precision
D-Log M to Rec.709 Official
Calibrated normalization transform with authentic color reproduction and natural contrast.
Skin Tones
Neutral
D-Log M True Neutral
Smooth highlight rolloff with softened magenta cast, perfected for outdoor daylight vlogging.
Night / Urban
Clean Blacks
Pocket 3 Low Light King
Suppresses shadow chroma noise in night street walks while preserving neon highlight detail.
1-INCH SENSOR COLOR SCIENCE
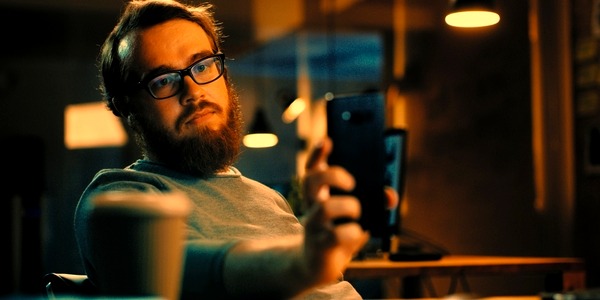
Flat D-Log M vs. Calibrated Rec.709
Drag slider to compare

EXPOSURE MATRIX
Recommended Camera Settings for D-Log M
The DJI Osmo Pocket 3 uses a 1-inch CMOS sensor with high sensitivity. Setting exposure accurately avoids clipped highlights and noisy shadows.
| Setting | Optimal Value | Why This Matters |
|---|---|---|
| Color Profile | D-Log M (10-bit) | Captures 1.07 billion colors (HEVC/H.265), preventing color banding across clear skies. |
| Exposure (EV) | EV -0.3 to -0.7 | Protects sensitive highlights in outdoor sunlight. The sensor recovers shadow detail much better than blown highlights. |
| Base ISO | ISO 50 (Day) / 800 (Night) | Dual native ISO architecture gives you the cleanest signal-to-noise ratio at 50 and 800. |
| Zebra Level | 85% – 90% | Avoid zebras over 95%. When zebras appear on foreheads or sky clouds, reduce shutter or insert an ND filter. |
| Shutter & Filters | 180° Rule (ND16 / ND64) | Lock shutter to 1/50s for 24fps or 1/120s for 60fps with magnetic ND filters for cinematic motion blur. |
WORKFLOW MATRIX
Grade in Your Favorite Editor
Follow these simple steps for CapCut, DaVinci Resolve, or Adobe Premiere Pro
01
CapCut (Desktop & Mobile)
- • Place your Pocket 3 clip on the timeline.
- • In CapCut Desktop: go to Adjustment > LUT in the top-right inspector.
- • Click Add Local LUT and load
dji-osmo-dlogm-to-rec709-official.cube. - • Keep Strength at 100%. In Basic controls, tweak Brightness by +5 if needed.
- • On Mobile: save .cube to Files, open CapCut > Adjust > Filters > Local LUT.
Method: 1-Click .CUBE Table
02
DaVinci Resolve CST & LUT
- • In the Color Page, create a serial node at the end of your tree.
- • Right-click node > LUT > select
dji-osmo-dlogm-to-rec709-official.cube. - • Alternatively, add Color Space Transform (CST):
- • Input Color Space: DJI D-Gamut.
- • Input Gamma: DJI D-Log M.
- • Output: Rec.709 / Gamma 2.4 with DaVinci Tone Mapping.
Method: Mathematical CST or .CUBE
03
Adobe Premiere Pro Lumetri
- • Select your Pocket 3 clip and open the Lumetri Color workspace.
- • Under Basic Correction, click the Input LUT dropdown.
- • Click Browse... and select your downloaded .CUBE file.
- • Rec.709 conversion is applied instantly with accurate skin tones.
- • Use the Exposure slider to balance contrast before adding creative styling.
Method: Lumetri Input LUT
COMPLETE COLOR ECOSYSTEM